
Access Your Raspberry Pi Remotely: Easy Guides & Tips
Can you truly harness the power of your Raspberry Pi from anywhere in the world? Absolutely! Mastering remote access to your Raspberry Pi opens up a universe of possibilities, from controlling home automation systems to accessing critical data on the go.
The Raspberry Pi, that diminutive marvel of computing, has captured the imaginations of hobbyists, educators, and professionals alike. Its compact size and affordability belie its immense capabilities, making it a versatile platform for a wide array of projects. One of the most compelling applications for the Raspberry Pi is its ability to be accessed remotely. This capability is crucial for home automation, IoT projects, and many other applications where physical proximity isn't an option.
| Aspect | Details |
|---|---|
| Concept | Remote Access to Raspberry Pi |
| Purpose | Enables control and data access from anywhere. |
| Benefits |
|
| Technologies/Methods |
|
| Challenges |
|
| Prerequisites |
|
| Further Resources | Raspberry Pi Foundation |
One of the initial steps involves ensuring your Raspberry Pi is connected to your local network. This can typically be achieved through a Wi-Fi connection. In your router's settings, assigning a static IP address to the Raspberry Pi is a prudent move. This ensures that the Pi's address doesn't change, simplifying remote access configuration. A common IP address for the router's gateway is often 192.168.0.1, but this can vary depending on your specific network setup.
- Movierulz What You Need To Know About Movie Piracy Streaming
- Unveiling Masa49 Origins Applications Future Trends Guide
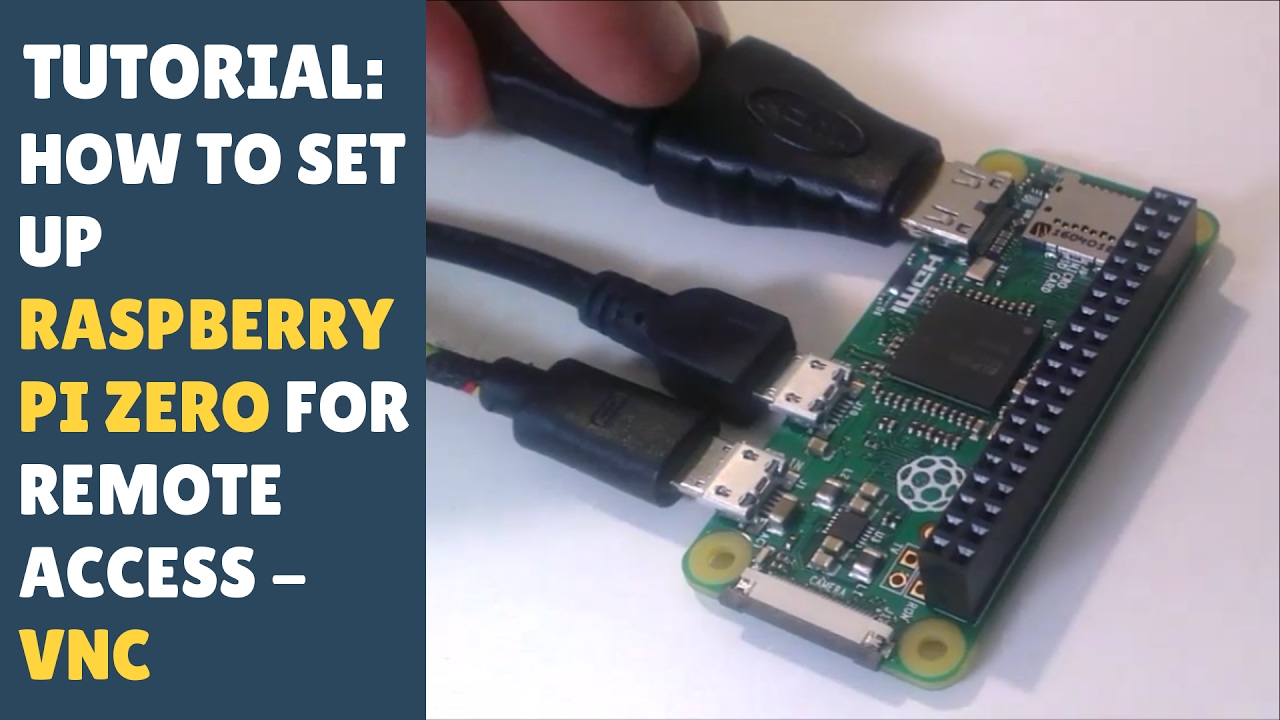
There are several pathways to achieving remote access. One such method is leveraging solutions like VNC (Virtual Network Computing) Connect. VNC Connect has long been a reliable method for remote access, and it offers a secure and user-friendly way to control your Raspberry Pi's full operating system. Others include TeamViewer and xrdp.
Virtual Private Networks (VPNs) present another potent solution. By setting up a VPN, you effectively create a secure tunnel to your home network. This grants you local network access to your Raspberry Pi, no matter where you are geographically. A common approach involves using an OpenVPN server, either on your home router (if it supports it) or directly on your Raspberry Pi.
Another approach, particularly if you're dealing with a dynamic IP address, is to employ services like Ngrok. Ngrok creates a secure tunnel to your Raspberry Pi, providing a public URL that allows access without the complexities of port forwarding. With Ngrok set up, you can remotely access your Pi from any network. The same applies to other services, like Tailscale.
- 9xmovies What You Need To Know Before You Stream
- Aaron Pierre From Mufasa To Green Lantern Get The Scoop
Port forwarding is a fundamental concept in remote access. It involves configuring your router to direct incoming traffic on a specific port to your Raspberry Pi's internal IP address. This is often necessary when using services like SSH or VNC. To set up port forwarding, you will need to access your router's admin panel, usually by entering its IP address in a web browser. Within the router's settings, locate the "port forwarding" section, and configure the necessary rules.
Before attempting to connect remotely, you must prepare your Raspberry Pi for remote access. This preparation may involve installing and configuring the chosen remote access software, such as VNC server or SSH. You should also ensure that the necessary ports are open on your router and that your Pi has a static IP address.
To remotely control your Raspberry Pi from any device connected to the internet, you have several options. You can expose SSH or VNC over the open internet, within a VPN, or use an external service like RealVNC's Cloud VNC Viewer. Alternatively, Raspberry Pi Connect, a free screen sharing and remote shell service provided by Raspberry Pi, can also be utilized. Detailed examples and instructions for these functionalities are readily available online.
For those familiar with the command line, accessing your Pi using PuTTY from a remote network is a practical approach. This involves using SSH, a secure protocol, to connect to your Raspberry Pi. To enable PuTTY terminal access from remote, you'll need to configure your Raspberry Pi's settings accordingly, typically by installing and enabling an SSH server and then setting up port forwarding on your router.
If you're setting up a NAS server with a Raspberry Pi and need access from outside your network, the process begins with basic hardware requirements: a Raspberry Pi (3B+ or 4), and an external hard drive (preferably SSD). The configuration involves setting up the Raspberry Pi, installing the necessary software (like Samba for file sharing), and configuring network settings. Then, you need to configure port forwarding on your router.
With the prevalence of remote access services, Raspberry Pi users have created a significant demand for solutions that simplify and secure remote access. Remote desktop access from external computers, tablets, or phones using VNC, or other technologies, is a common requirement. The goal is to create a user-friendly and secure way to interact with the Raspberry Pi remotely.
Some users may encounter challenges with the initial setup, such as defining a static IP address for the Raspberry Pi. This is an essential step for remote access. If you are using putty and facing problems connecting via a different network than the local one, it is often a configuration issue. Setting up SSH or VNC, and properly configuring the router for port forwarding will likely resolve those issues.
For those considering network booting, ensuring your Raspberry Pi 3 model B boots over the network requires that the device be booted from an SD card that has a config option enabled. This will set a bit in the OTP (one-time programmable) memory, enabling network booting.
Services like Tailscale can significantly simplify remote access. Tailscale uses a mesh VPN, allowing devices to connect securely without complex port forwarding configurations. Once you've installed Tailscale on your Raspberry Pi, you can open a URL in your browser to log in with your Tailscale account. After authentication, your Raspberry Pi will be connected to your "tailnet". From then on, you can access it remotely using its Tailscale IP address.
Setting up remote desktop access on your Raspberry Pi can transform it into a versatile remote workstation in under 30 minutes. The process involves installing a remote desktop server (such as VNC Server or XRDP), configuring the necessary network settings, and setting up any desired security measures. The best tools depends on the user's preference and the specific tasks being performed.
Regardless of the chosen method, the key to successful remote access lies in careful configuration and attention to security. Be mindful of password strength, firewall settings, and the potential risks associated with exposing your Raspberry Pi to the internet. Remote access offers immense benefits, and by taking the right precautions, you can unlock the full potential of your Raspberry Pi from anywhere.
In essence, remote access to a Raspberry Pi involves a combination of software configuration, network setup, and security considerations. Whether you choose VNC, SSH, VPNs, or cloud services, the goal is to establish a secure and reliable connection that allows you to control and monitor your Raspberry Pi from a distance. Through these techniques, the Raspberry Pi becomes an even more powerful and adaptable tool, extending its capabilities beyond the confines of your local network.
Article Recommendations
- Movierulz 2025 Latest Movies Shows Watch Download Updated
- Emily Compagnos Marital Status Divorce New Engagement More

Detail Author:
- Name : Amy Lang
- Username : hagenes.marcia
- Email : christop.johnston@gmail.com
- Birthdate : 1991-12-16
- Address : 99090 Odie Ville Apt. 939 West Kiera, ID 08002
- Phone : +1 (434) 372-0656
- Company : McGlynn and Sons
- Job : Manufacturing Sales Representative
- Bio : Animi dignissimos dolores id adipisci ducimus. Nobis commodi aperiam nisi et sed cupiditate. Non non autem molestiae architecto laborum harum.
Socials
twitter:
- url : https://twitter.com/ctromp
- username : ctromp
- bio : Ex et esse fugit qui necessitatibus libero eos. Necessitatibus enim quia dolor perspiciatis. Blanditiis dolorem dolorem ut nemo nam ut veritatis quam.
- followers : 6997
- following : 1646
instagram:
- url : https://instagram.com/casimer_official
- username : casimer_official
- bio : Adipisci eum ut enim nam incidunt necessitatibus. Ad iste sunt qui dolor laborum.
- followers : 287
- following : 46
linkedin:
- url : https://linkedin.com/in/casimer_xx
- username : casimer_xx
- bio : Occaecati odio deserunt dolorum officia dolor et.
- followers : 4832
- following : 1961
